Ludo has been a favorite board game for families and friends for many generations. One of the most enjoyable parts of this game is its simple yet attractive board design. Creating your own ludo board drawing can be a fun activity, whether you are doing best prediction app for cricket it for school projects, artwork, or even making your own board game at home. In this guide, we will explore 6 easy steps that will help you design a perfect ludo board drawing with clarity and precision. By the end of this article, you will know how to make your own board that not only looks neat but is also ready to play.
Understanding the Basics of a Ludo Board Drawing
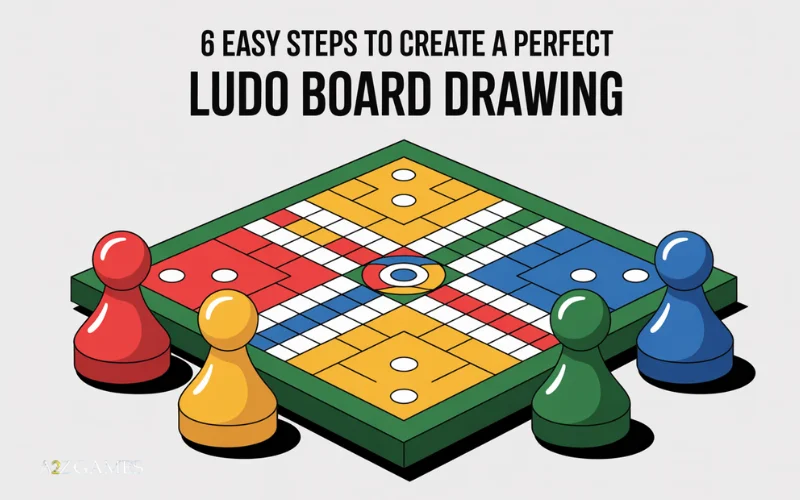
Before getting into the steps, it is important to understand the structure of a ludo board. The board is square-shaped and is divided into four equal quadrants. Each quadrant has a distinct color, usually red, green, yellow, and blue. Each player has a home area, a pathway leading to the center, and a finishing line in the middle. Knowing these elements will help you create a ludo board drawing that is both accurate and easy to play on.
Step 1: Prepare Your Drawing Materials
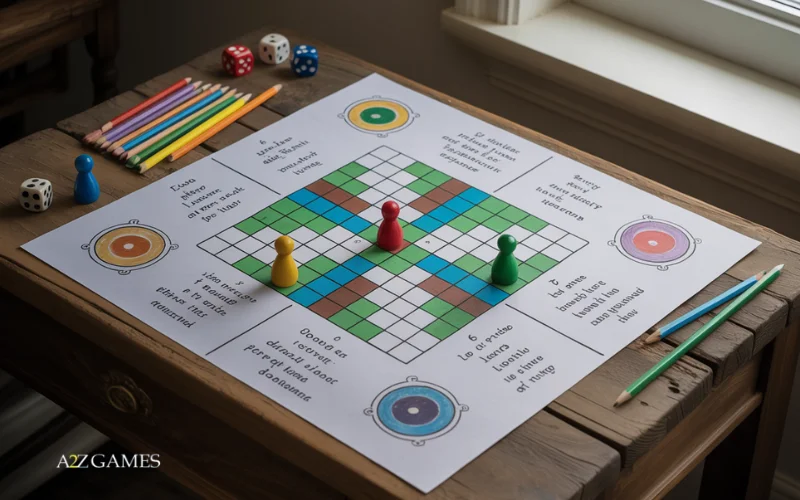
The first step in creating a ludo board drawing is preparing the right materials. You will need the following:
- A ruler to ensure straight lines
- A pencil for the initial sketch
- An eraser for corrections
- A compass if you want perfect circles
- Colored markers or crayons for filling in the quadrants
- A sheet of drawing paper or cardboard
By having these materials ready, you make sure your ludo board drawing process will be smooth and free from interruptions.
Step 2: Draw the Outer Square
The ludo board starts with a large square. Use your ruler to measure and draw a square that fits neatly on your paper. This square will act as the outer boundary of your ludo board drawing. It is important to keep the lines straight and the corners sharp to maintain a professional look. Once the square is complete, you can lightly erase any extra pencil marks that extend beyond the edges.
Step 3: Divide the Board into Four Quadrants
Now that you have your square, the next step is to divide it into four equal parts. Draw two lines, one vertical and one horizontal, intersecting at the center of the square. This will split the board into four smaller squares. Each of these squares will represent one player’s area in your ludo board drawing. At this stage, you can start labeling or planning which color will go in each quadrant, such as red at the top left, green at the top right, yellow at the bottom right, and blue at the bottom left.
Step 4: Create the Home Areas and Pathways
Each quadrant needs a home area where the player’s tokens start. Draw a small square inside each quadrant close to the corner. These small squares are called the home bases. Then, draw three rectangular boxes along the edge of each quadrant leading towards the center of the board. These boxes form the pathway that tokens follow as they move around the board. In your ludo board drawing, make sure the pathways are equally sized so the game feels fair and balanced.
At the center of the board, draw a larger square that connects the pathways from all four quadrants. This is the finishing zone where the tokens race to reach first. Divide this central square into four equal triangles, each pointing toward one quadrant. These triangles will also be colored according to the respective player’s side.
Step 5: Add Color to the Ludo Board Drawing
Colors are what bring the ludo board to life. Use red, green, yellow, and blue to fill each quadrant. Color the home areas, pathways, and central triangles with their respective shades. This will make the ludo board drawing instantly recognizable. Make sure to use bright and even coloring so the board looks neat. If you are using markers, apply them slowly to avoid ink smudges. For crayons or colored pencils, color in one direction for a smoother finish.
In addition to the colors, you can also outline the shapes with a black marker to make them stand out more. The strong outlines will give your ludo board drawing a polished appearance.
Step 6: Add the Final Details
The final step is to add finishing touches to your ludo board drawing. These details include:
- Drawing small circles inside the home areas to represent the starting positions for tokens
- Adding arrows on the pathways to indicate the direction of movement
- Ensuring that all the lines are straight and neat
- Checking that the central square is properly divided and aligned
Once these details are complete, your ludo board drawing is ready. You now have a complete board that can be used for both display and gameplay.
Benefits of Creating Your Own Ludo Board Drawing
Making your own ludo board drawing is not just an art activity but also an educational experience. It helps improve your geometry skills, teaches you about symmetry, and enhances your sense of design. Moreover, it gives you a personal connection with the game, making it more enjoyable to play. Children can also use it as a school project to showcase their creativity. Adults, on the other hand, can use it as a fun craft project or a personalized game board for family gatherings.
Tips for a Better Ludo Board Drawing
Here are some additional tips that can make your ludo board drawing stand out:
- Use thick paper or cardboard so the board lasts longer
- Laminate the drawing once complete to protect it from wear and tear
- Add decorative borders around the outer square for extra appeal
- Ensure equal spacing between pathways for smooth gameplay
By following these tips, you can make your ludo board not only look attractive but also remain durable for many play sessions.
Conclusion
Creating a ludo board drawing is a rewarding activity that combines creativity and precision. By following the 6 easy steps outlined in this guide, you can design your own perfect ludo board. From preparing your materials to adding colors and final details, each step ensures that the board is both functional and visually appealing. Whether you are making it for fun, learning, or actual play, a self-made ludo board drawing will always hold a special value. So gather your tools and start creating your own version of this timeless game today.